Schedules

The task execution schedule can be set in the Schedules tab. In the upper right corner there is the Columns and Add schedule button.

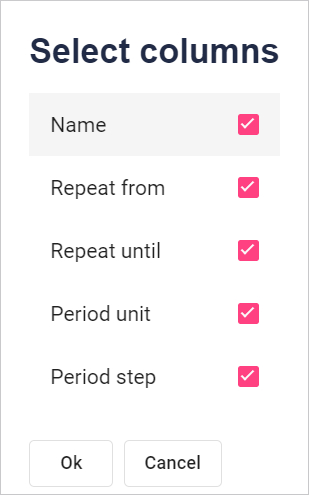
Select the column names to be displayed. Click the checkbox to the right of the name. To accept the selection, click the Ok button at the bottom of the window.

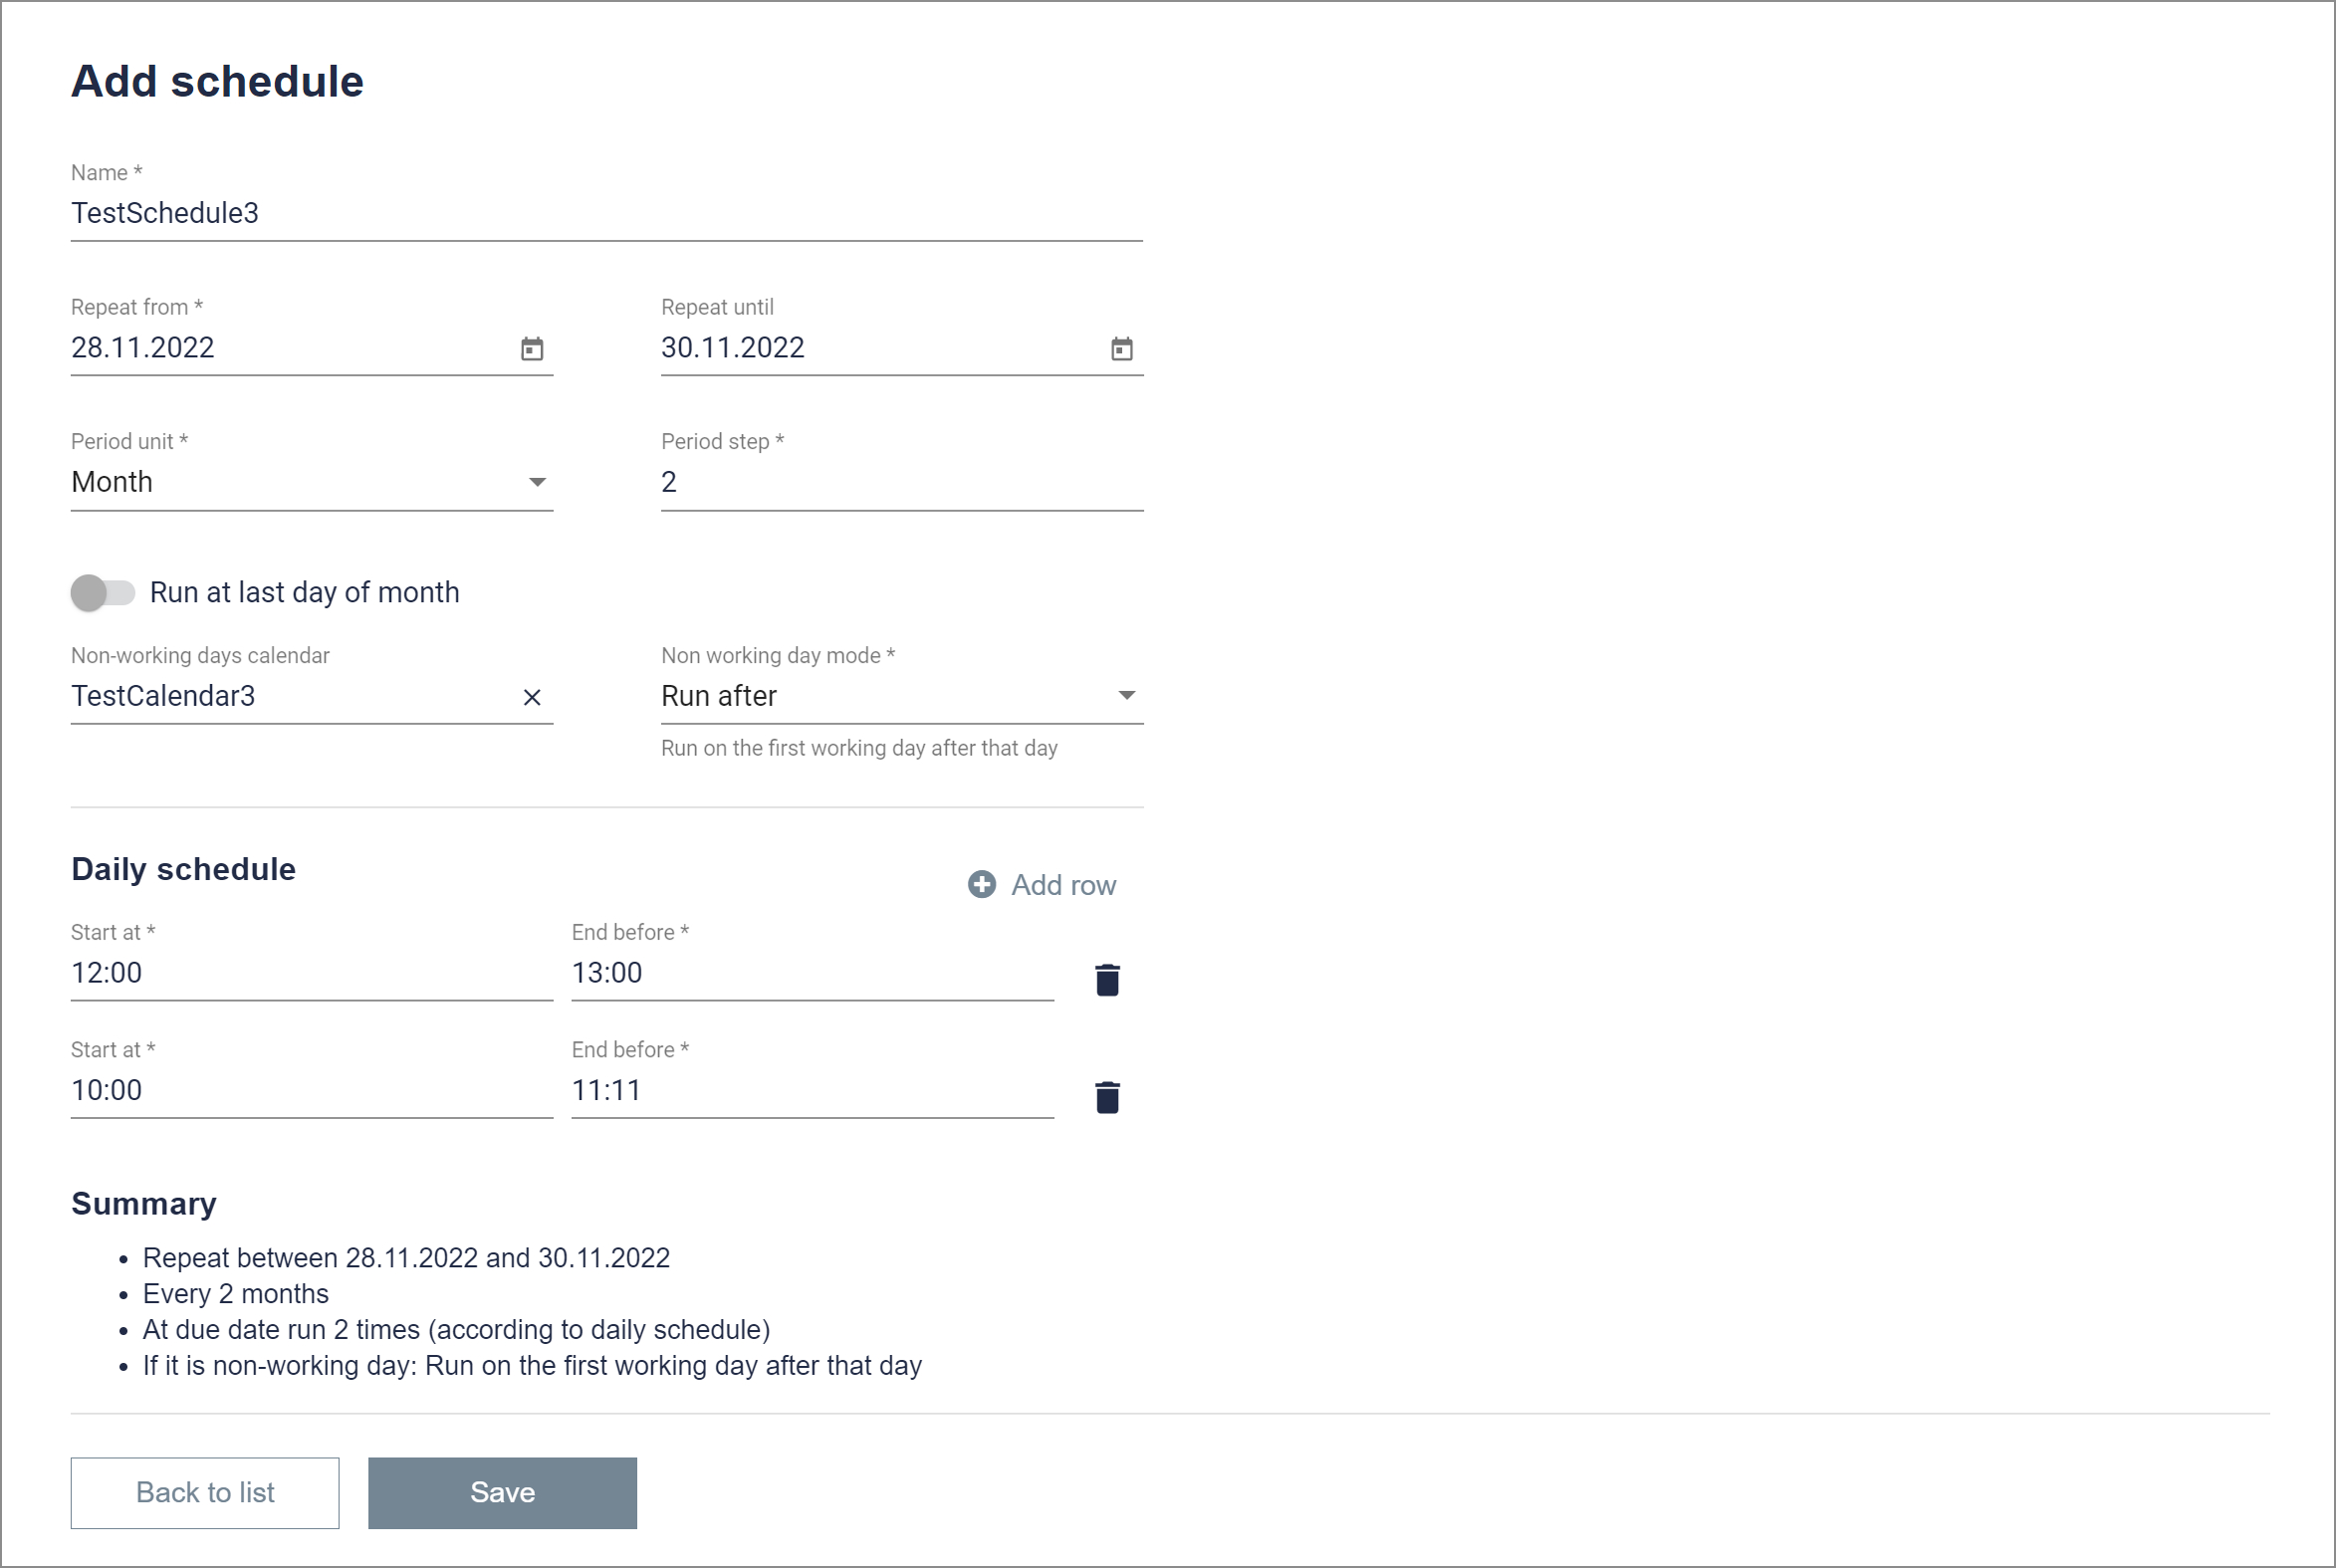
Enter a name for the schedule. Provide from when to when the schedule is to be valid. You must also select the period (day, week, month). Then we choose how many steps the schedule is to be performed. You can add a previously created calendar with working and non-working days. Each selected execution time frame means one execution. If you want the scenario to run twice, for example, click the add row button and select the time range. Below you can see a summary of everything we have chosen.
After adding the schedule, we can create a package that will be executed on its basis.

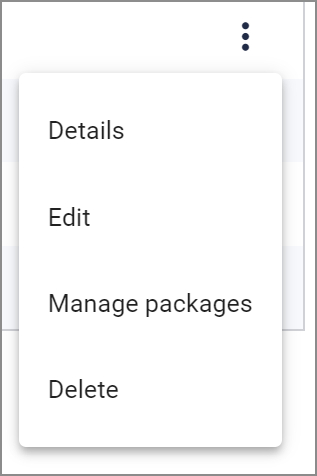
When you click on the three dots (on the right side of each row of the table), the following options will open:
Detail - you can see the details of a given schedule.
Edit you can edit the schedule.
Manage packages, you can view packages related to a given schedule.
Delete - You can delete the selected schedule by clicking.
Last updated: April 17, 2023