Robots
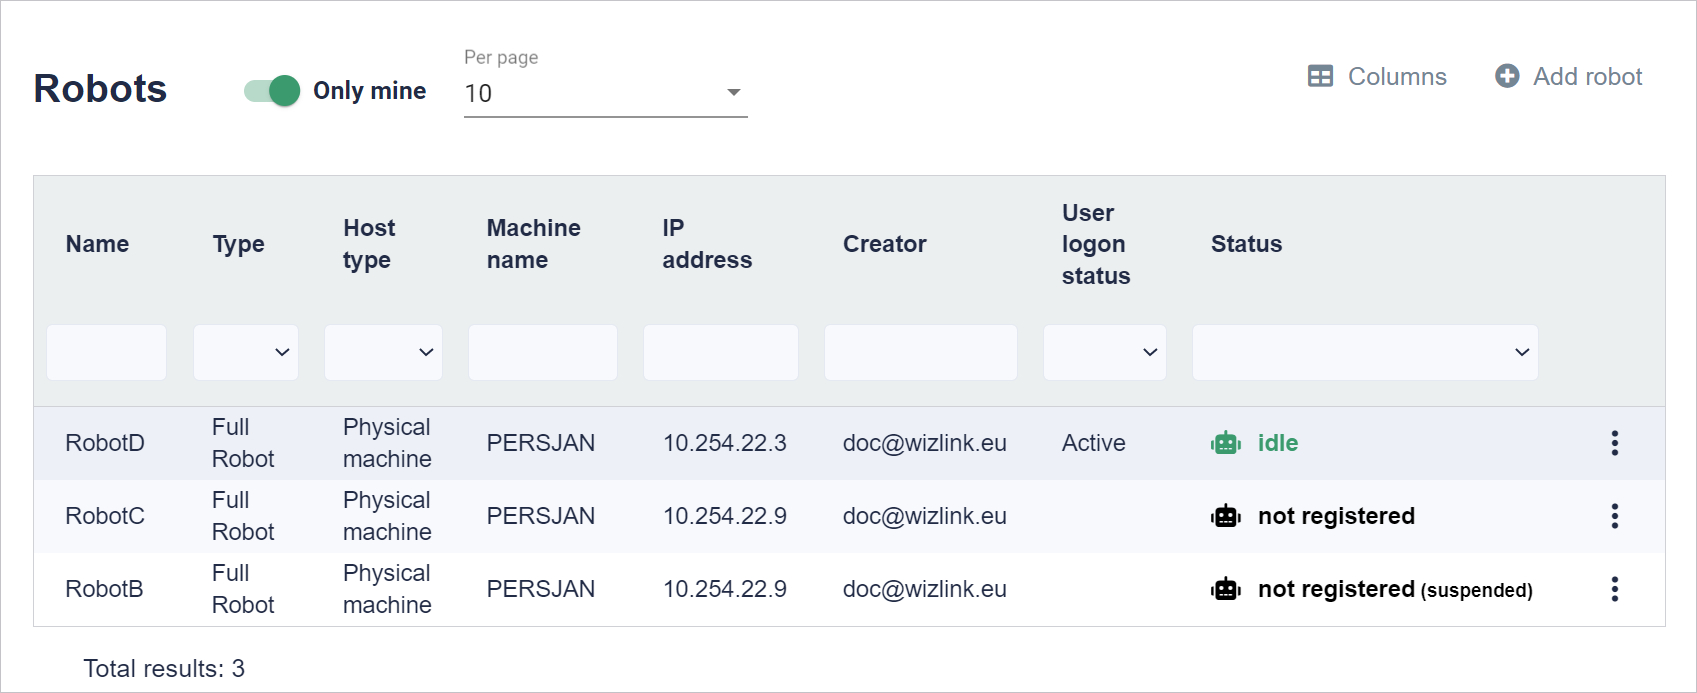
You need Wizlink robots to perform scenario-based tasks. In the Robots tab in the upper right corner there is the Add robot button.
NOTE: When setting a physical machine up as a Robot host, make sure to go into Power Options and turn off logging out the user after a period of inactivity.
Virtual machine
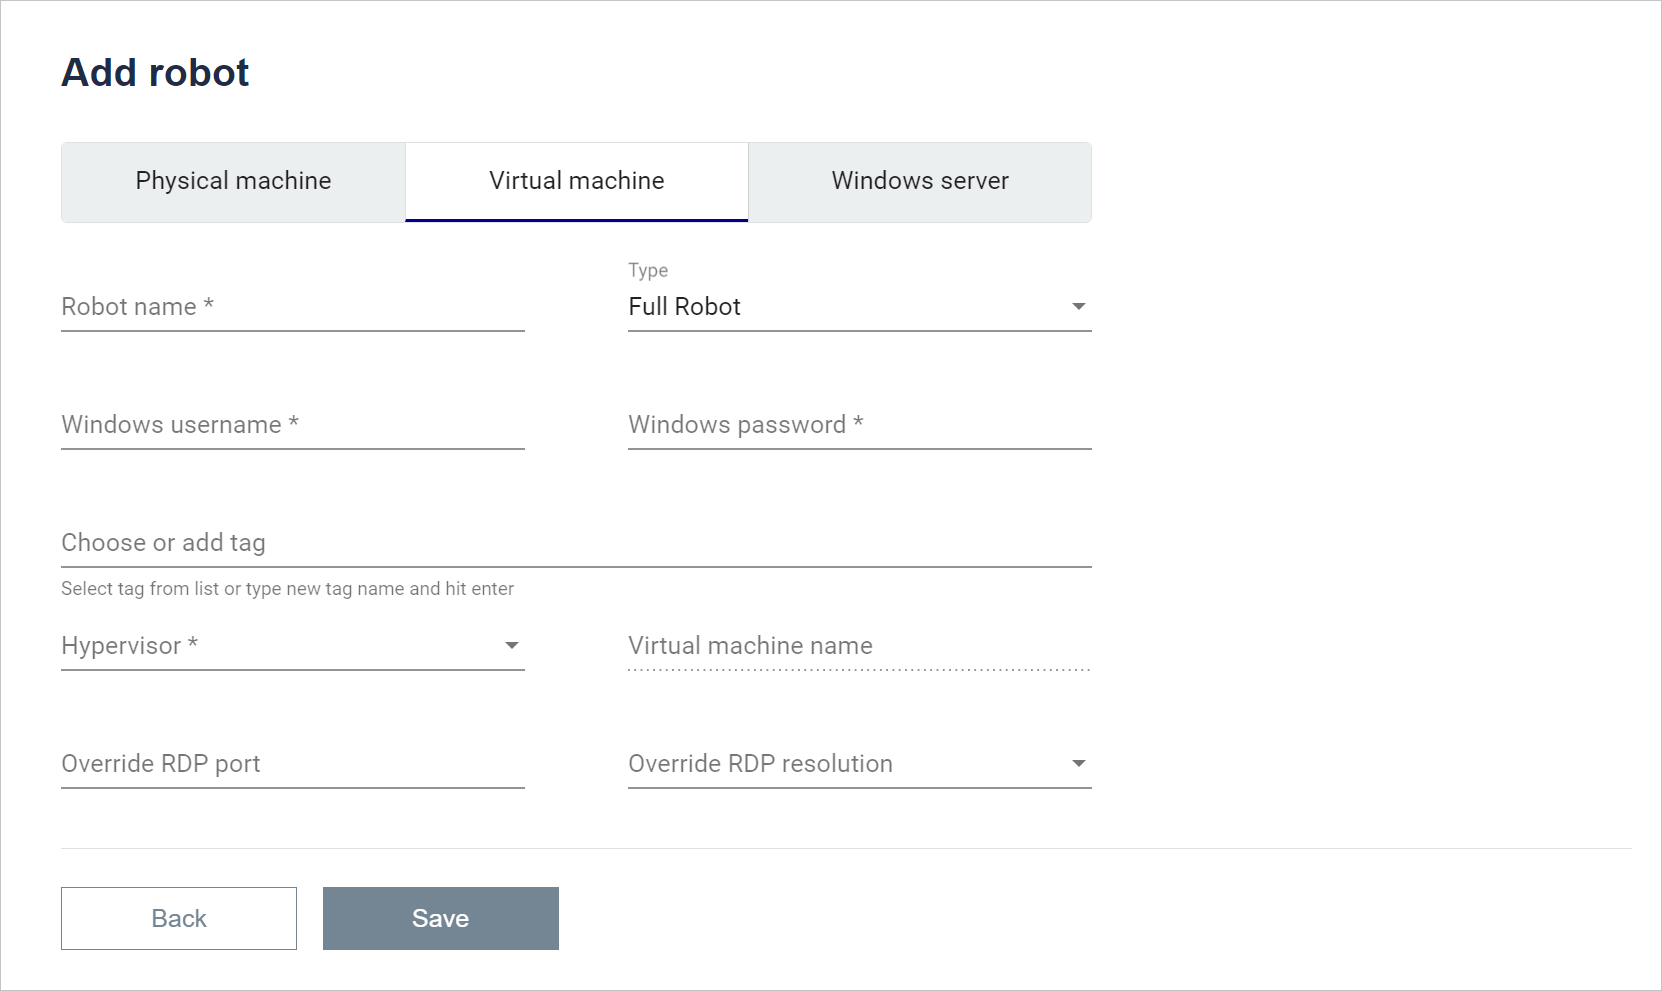
First, you need to choose whether you want to add a physical machine, virtual machine or Windows server.
In the second step in the case of a virtual machine give the robot a name and select a type from the drop-down list. In the next line enter your Windows username and password. Then tags can be added. In the case of a Virtual machine you must also select a hypervisor and the Virtual machine name from the drop-down list. If you have a non-standard system configuration and you need to connect to RDP on a port other than the default one you can enter it in the last line. Next to it you can also override the RDP resolution.
Physical machine
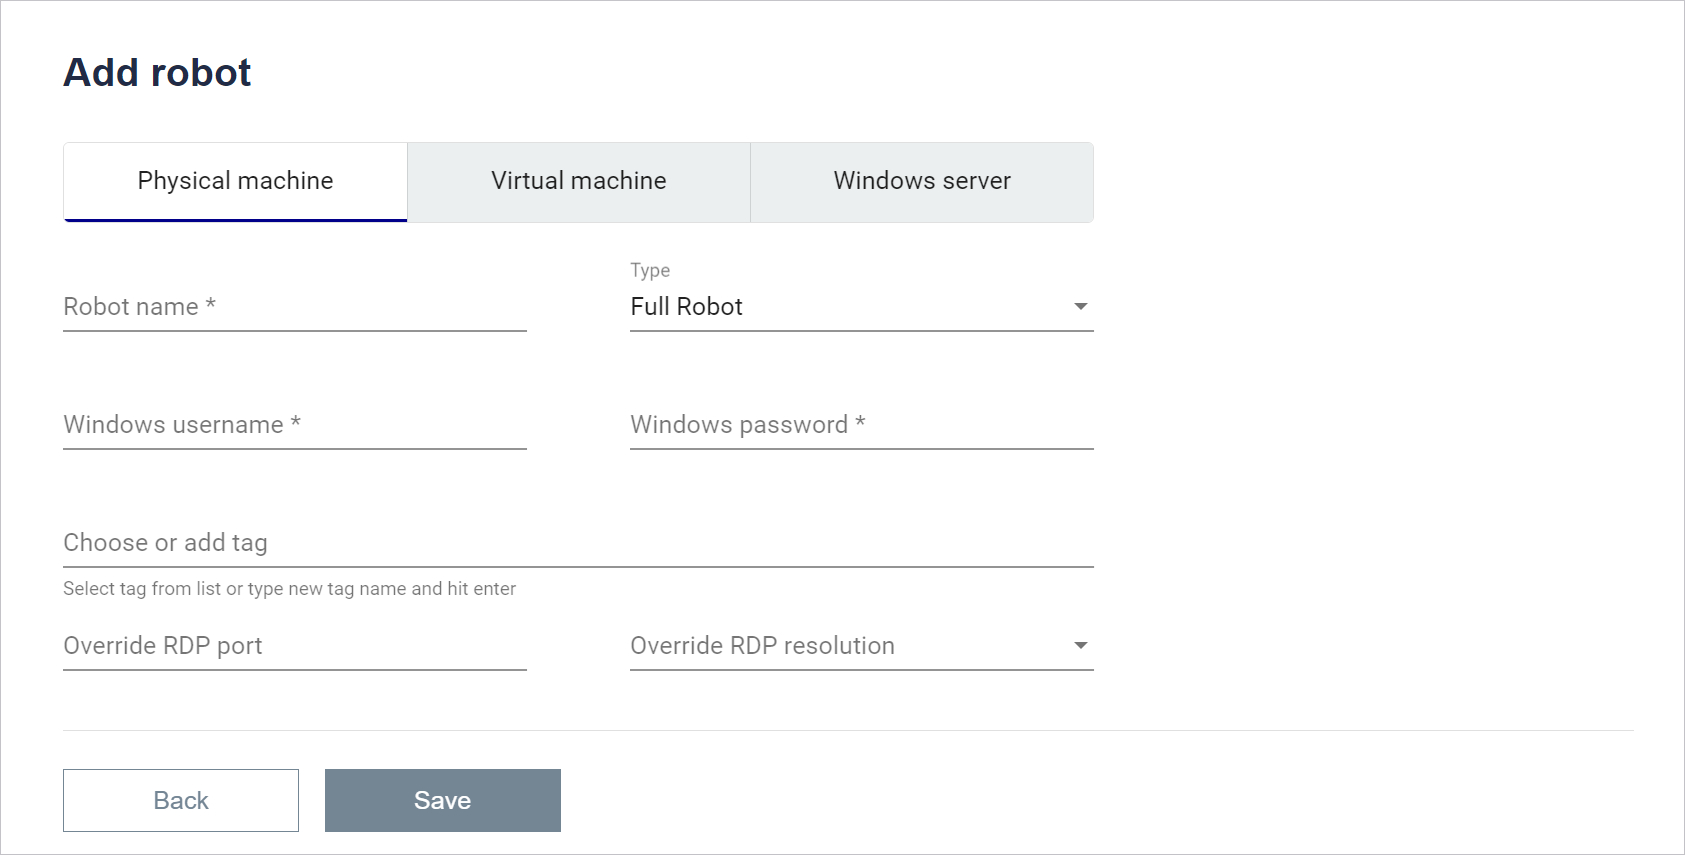
If a Physical Machine has been selected give the robot a name and select a type from the drop-down list. In the next line, enter your Windows username and password. Then tags can be added. If you have a non-standard system configuration and you need to connect to RDP on a port other than the default one, you can enter it in the last line. Next to it you can also override the RDP resolution. This robot cannot be activated from BCC but it activates when Runtime is started. Note that Runtime must have BCC connection license or in the settings selected address Wizlink License Broker.
Windows serwer
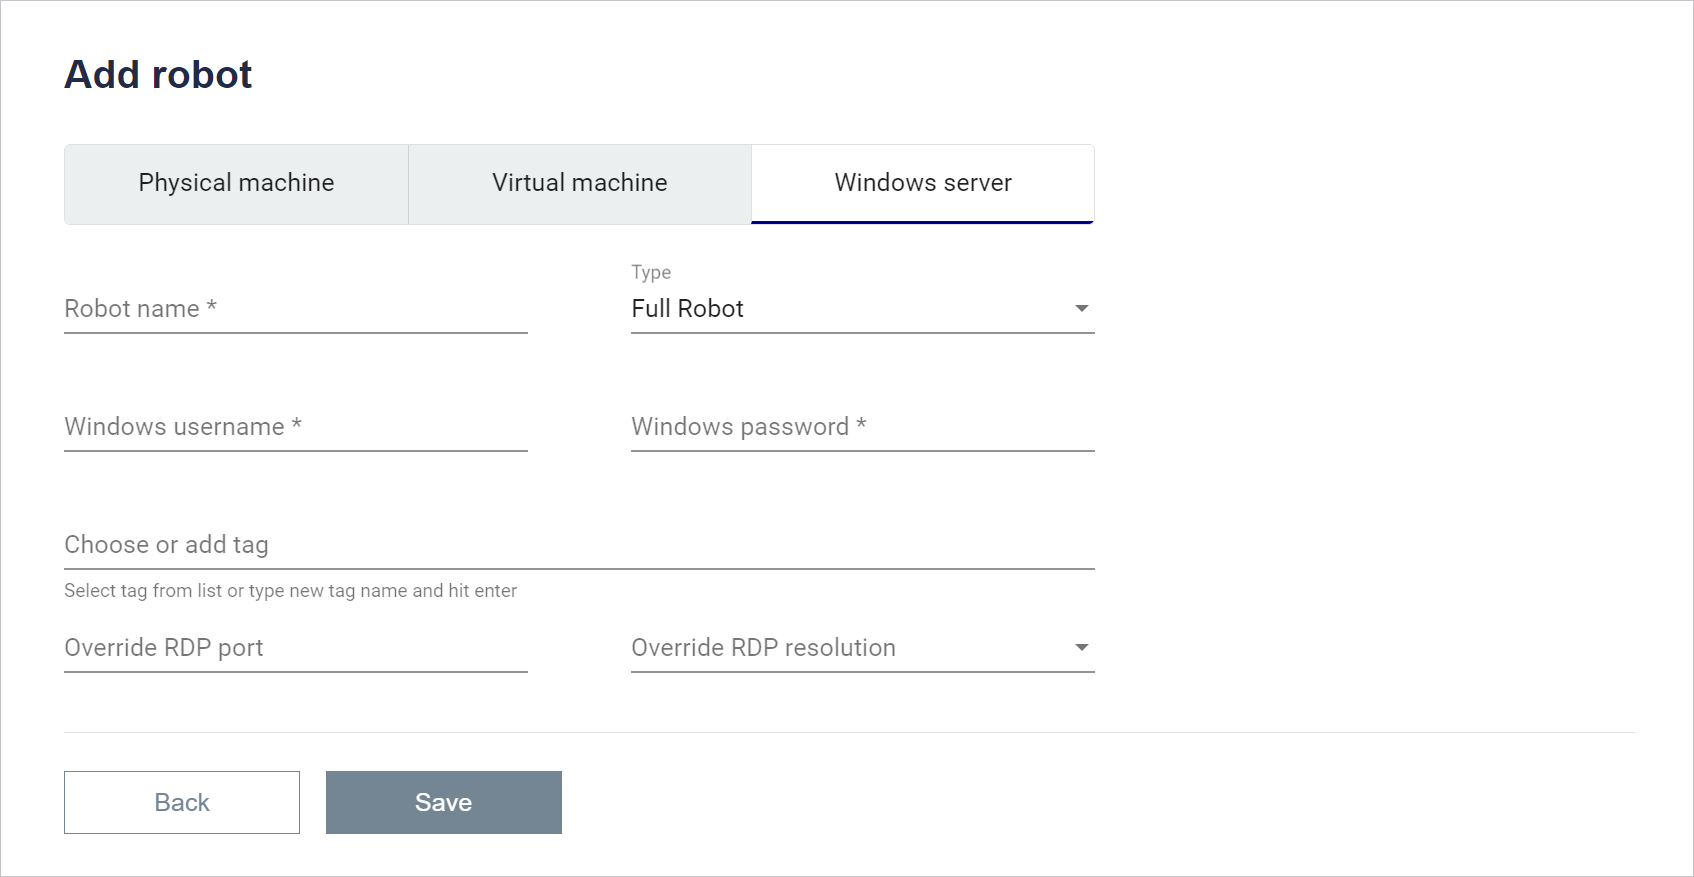
If Windows Server has been selected give the robot a name and select a type from the drop-down list. In the next line, enter your Windows username and password. Then tags can be added. If you have a non-standard system configuration and you need to connect to RDP on a port other than the default one, you can enter it in the last line. Next to it, you can also override the RDP resolution.
After the robot is created it is visible in the list of robots with the Not registered status. To register click on the three dots on the right and select Commands.
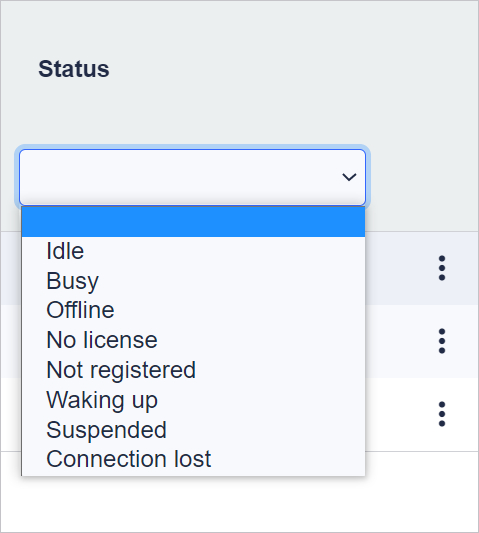
The robot can have the status:
Idle - Waiting for a task to be assigned
Busy - This robot is busy with an assigned task
Offline - inactive
No license - Without a license
Not registered - Unregistered
Waking up - The robot is waking up
Suspended - The robot is suspended
Connection lost - Robot lost connection
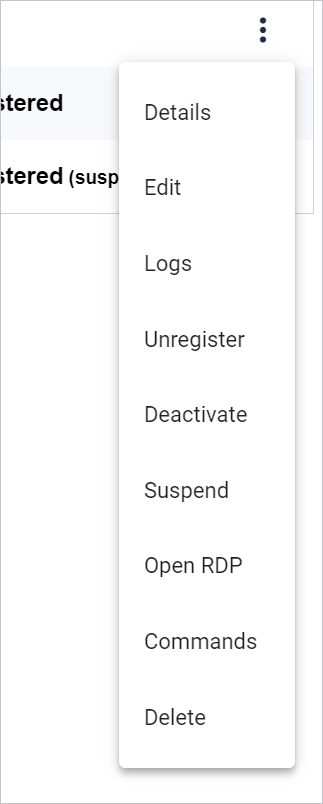
When you click on the three dots (on the right side of each row of the table), the following options will open:
Details - You can view the details of the robot.
Edit - You can edit the entered data.
Logs - You can view logs for a specific robot.
Unregister/Register - You can unregister/register the robot.
Activate/Deactivate- You can activate/deactivate the robot.
Suspend/Unsuspend - You can suspend or undo the suspension of the robot.
Open RDP - You can open the remote desktop of this robot.
Commands - Opens a page with commands to register the robot
Delete - You can delete this robot.
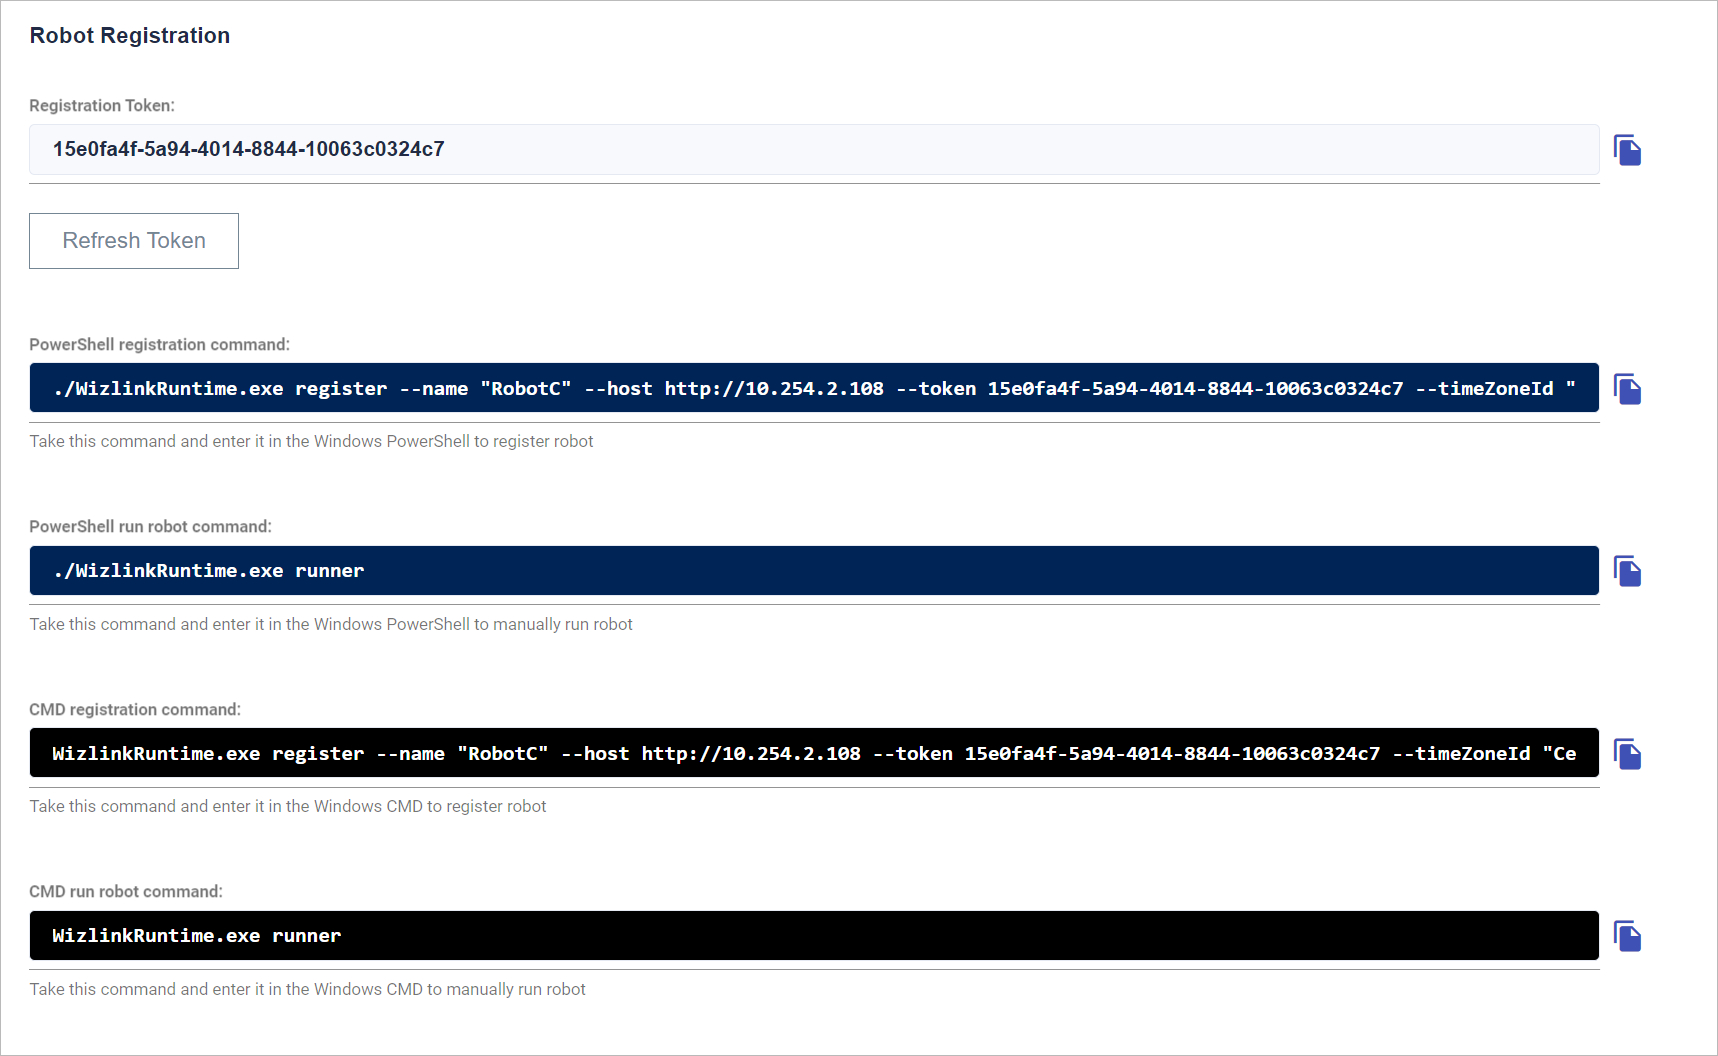
After adding the robot you still need to register it. To do this click on the three dots next to the new robot on the list of robots and select Commands.
Registration can be done in Windows PowerShell or Windows CMD. The first command of each type is used to register and the second to start the robot manually. After executing the first and second command the new robot on the list should change its status to Registered and then to Idle.
Last updated: July 17, 2023