Notifications
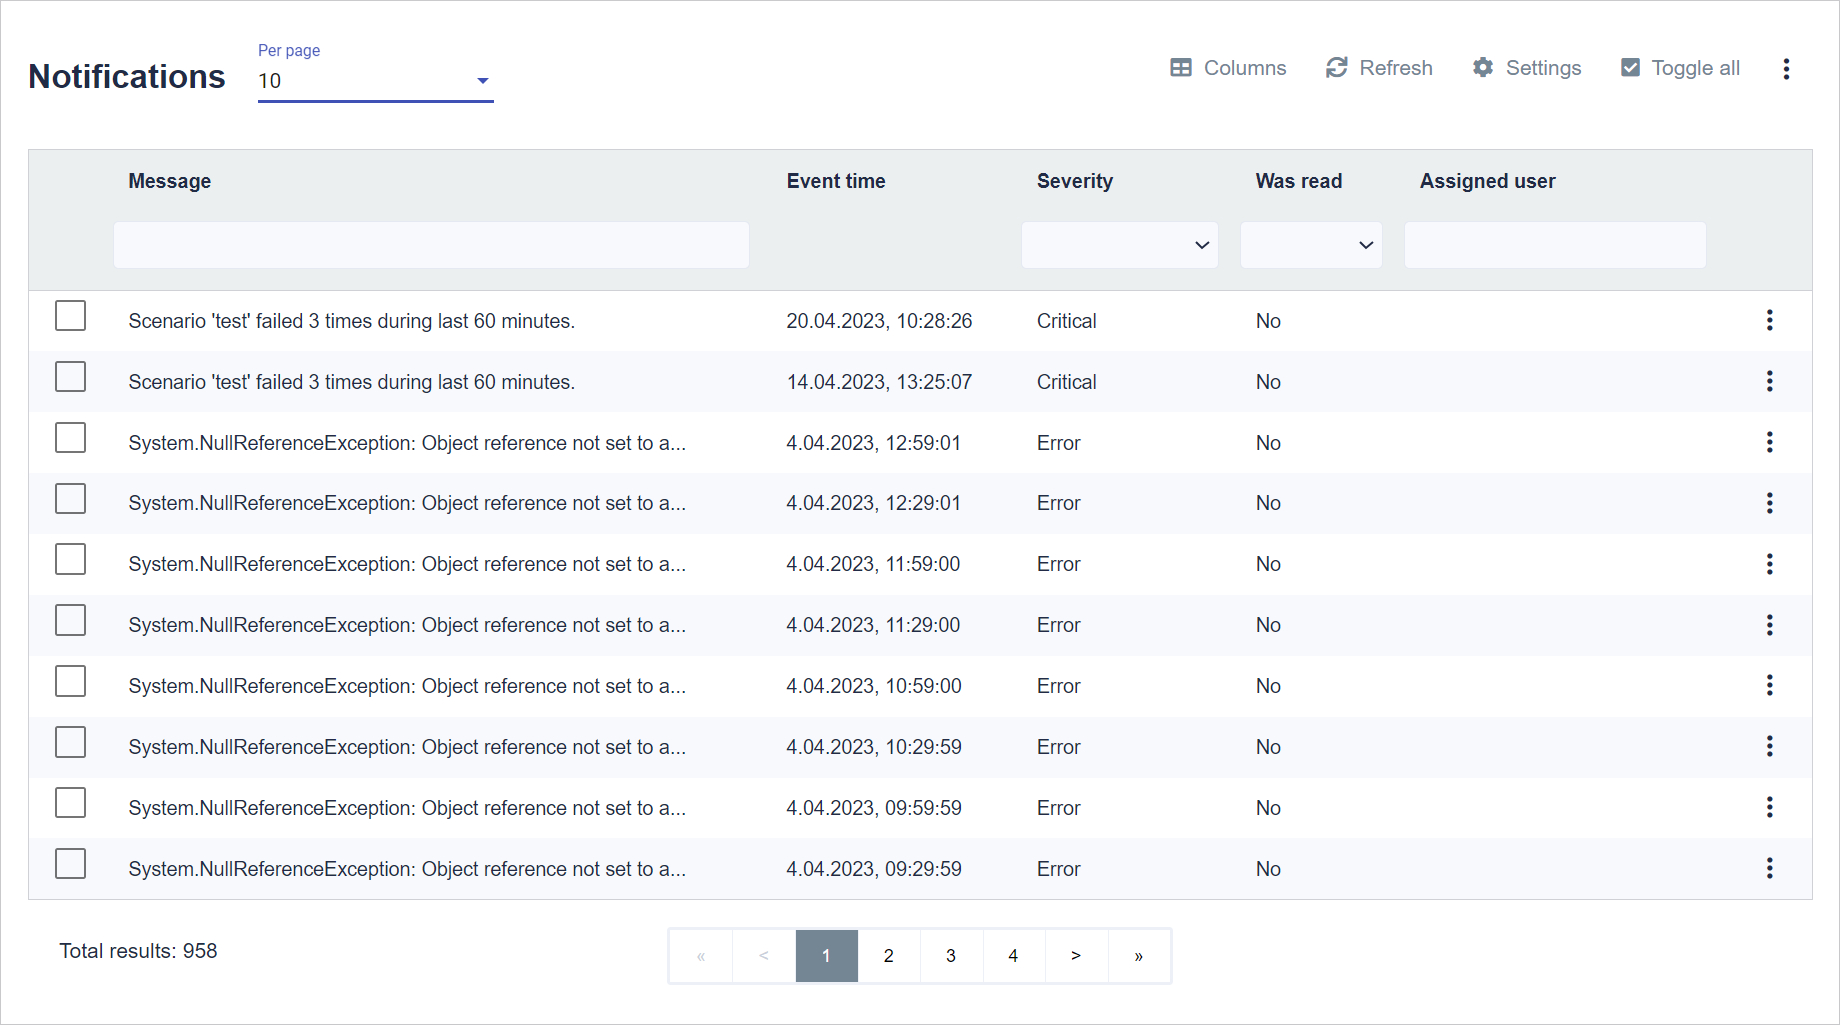
Notifications contain information whether a given scenario ran positively or ended with an error. At the top right is the Columns button.
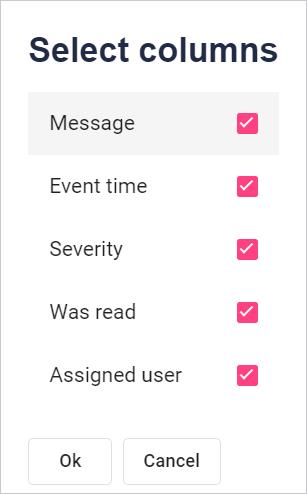
Select the column names to be displayed. Click the checkbox to the right of the name. To accept the selection, click the Ok button at the bottom of the window.
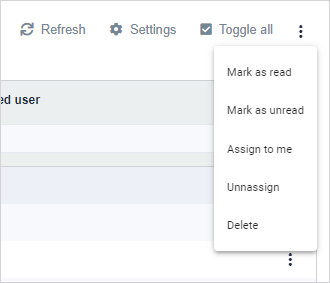
In the upper right corner there are buttons:
Refresh - it is used to refresh the page
Settings - goes to the notification settings page
Toggle all - selects all notifications on the page
Three dots - for selected notifications you can perform actions:
- Mark as read - You can mark that a given notification has been read by the user.
- Mark as unread - You can mark a given notification as unread.
- Assign to me - You can assign a notification to yourself.
- Unnassign - You can unassign a given notification
- Delete - You can delete a specific notification.
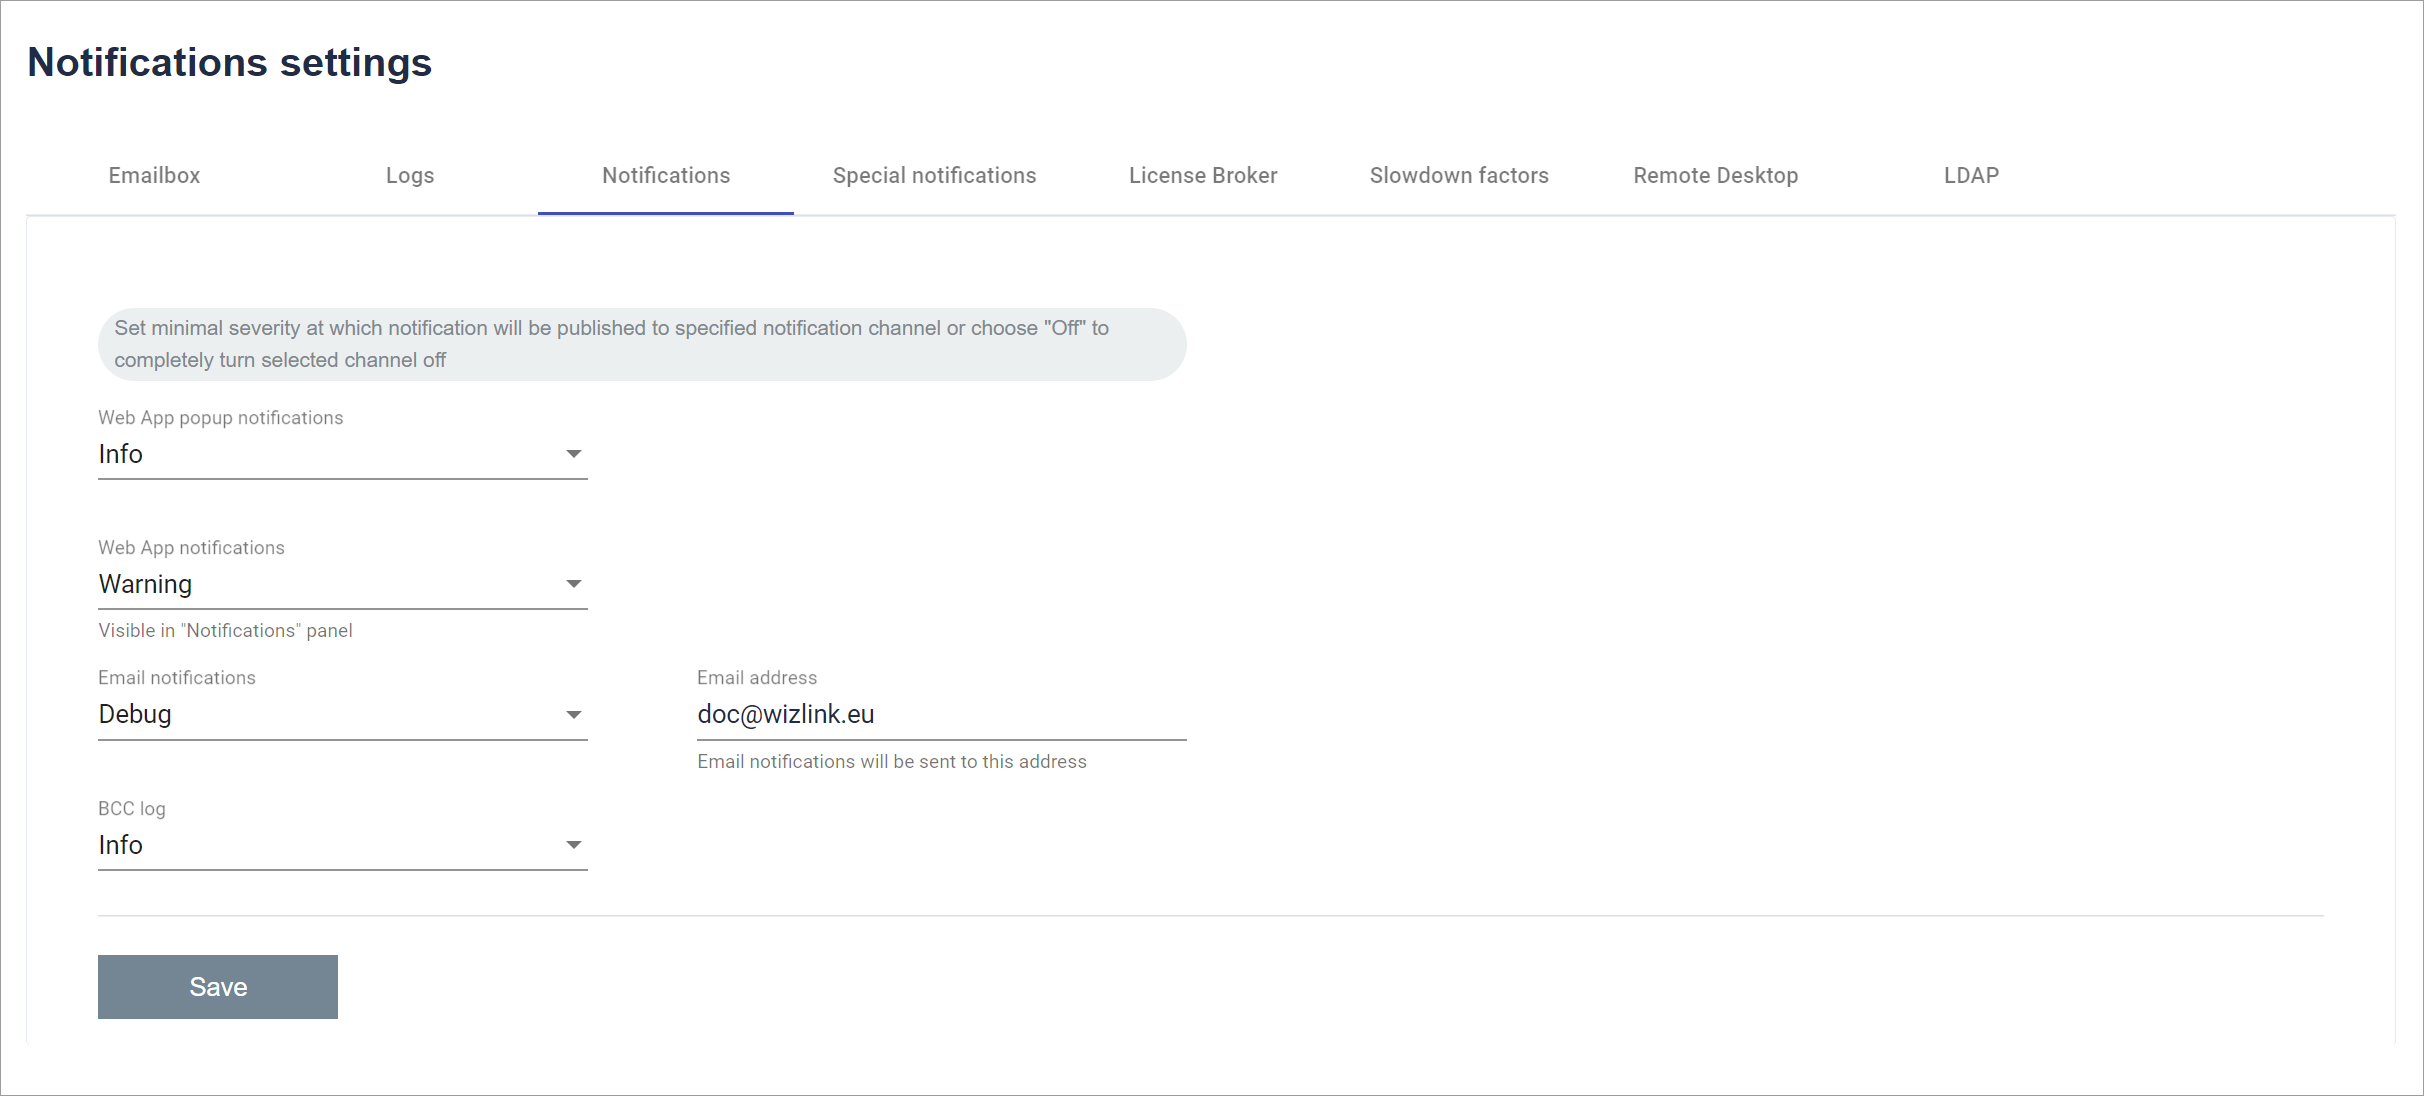
By entering the settings, you can set the minimum severity with which notifications will be published for each type of application, e-mail or BCC logs. You can also enter the e-mail address to which the e-mail notification should be sent.
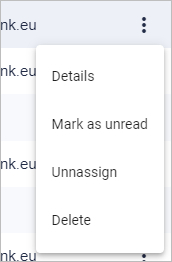
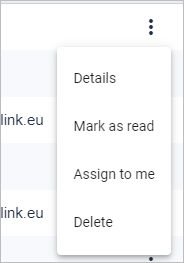
When you click on the three dots (on the right side of each row of the table), the following options will open:
- Details - You can see the details of the notification.
- Mark as read - You can mark that a given notification has been read by the user.
- Mark as unread - You can mark a given notification as unread.
- Assign to me - You can assign a notification to yourself.
- Unnassign - You can unassign a given notification.
- Delete - You can delete a specific notification.
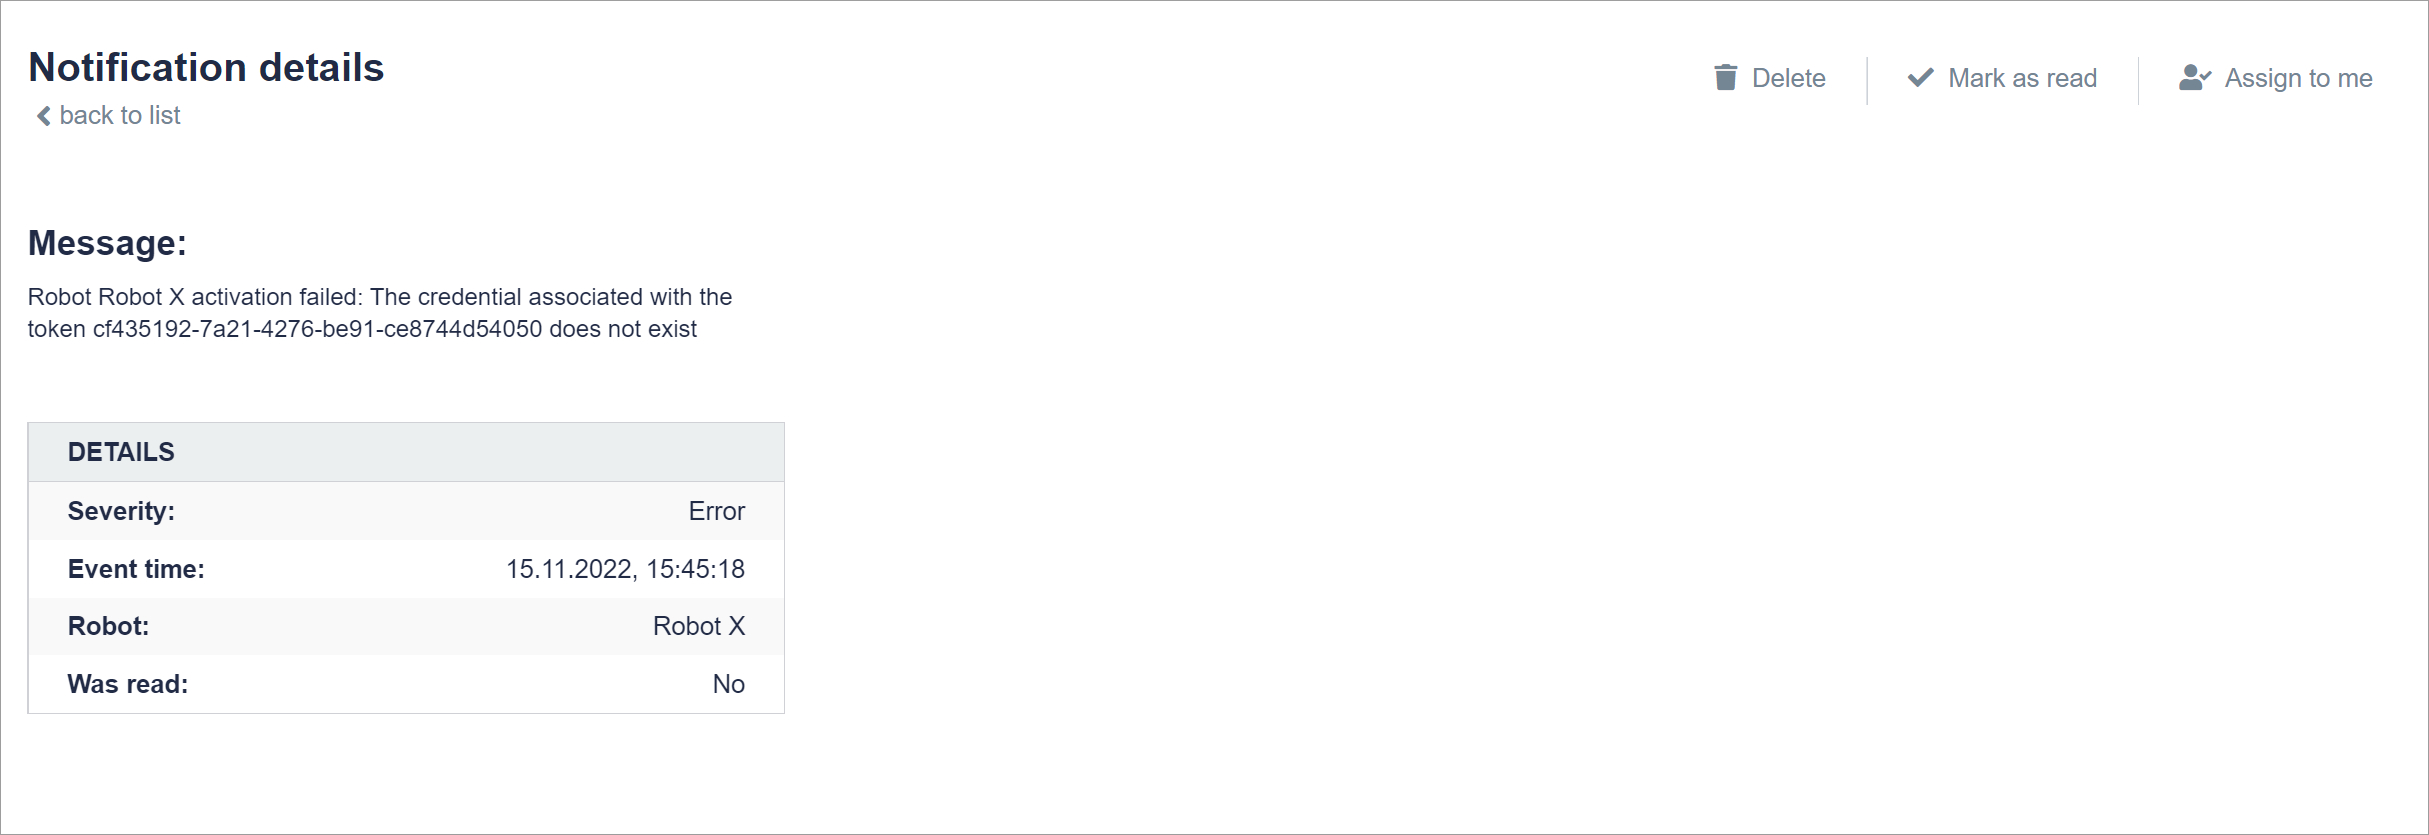
In the details of the selected notification, you can read its content. Below is a table with information about this notification. The table includes:
Information on the severity of the notification
The date of the event to which the notification relates
Indication to which Robot or scenario it applies
Information whether the notification was read
The information to whom the notification was assigned
Last updated: April 17, 2023