Packages
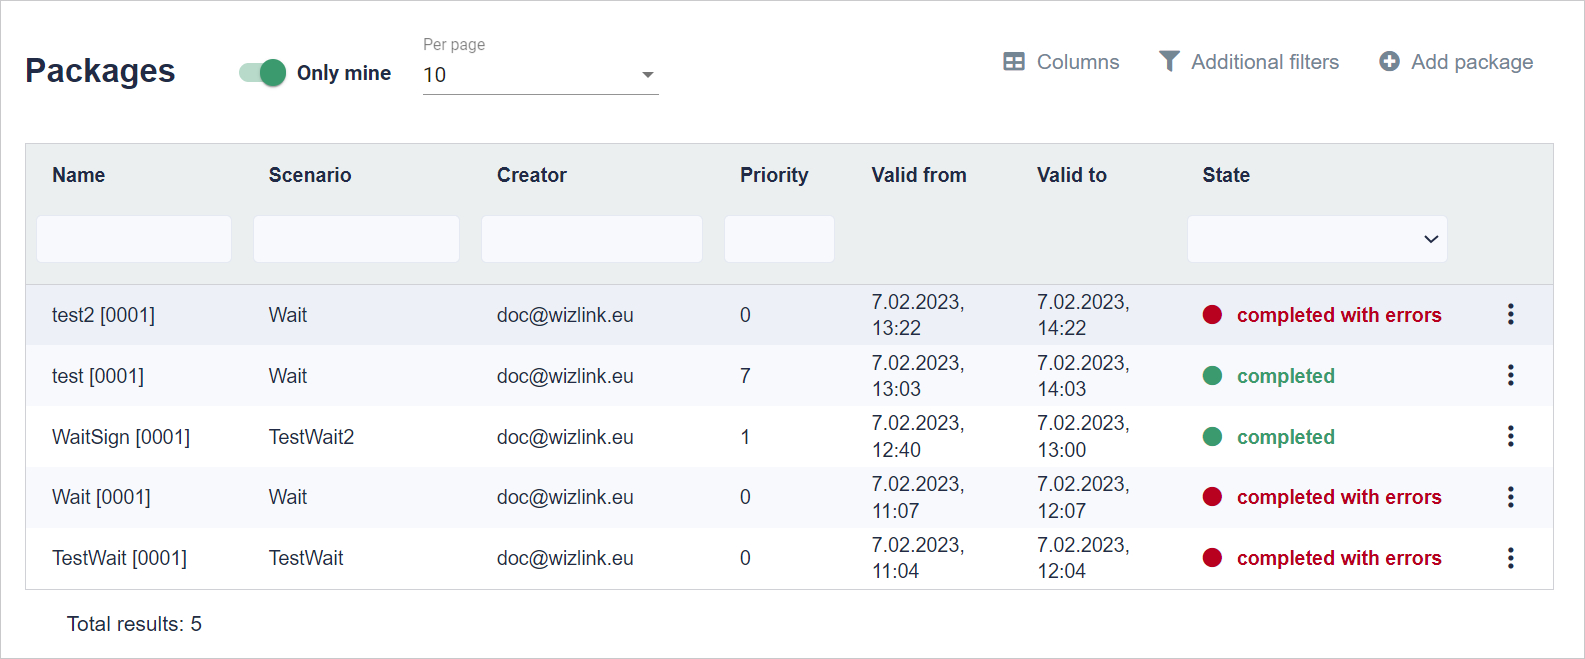
These are task sets based on the same scenario. As part of the package, we must define at least one task. In addition, the package has an expiry date. Both from when and until when. In the Packages tab in the upper right corner there are three buttons a Columns, Add package and Additional filters.
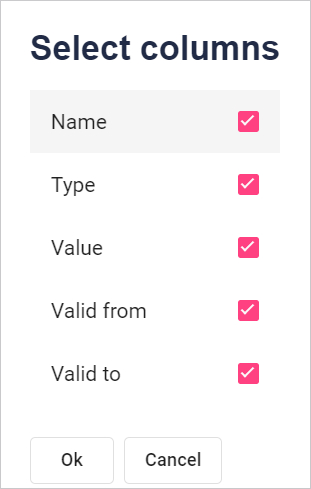
Select the column names to be displayed. Click the checkbox to the right of the name. To accept the selection, click the Ok button at the bottom of the window.
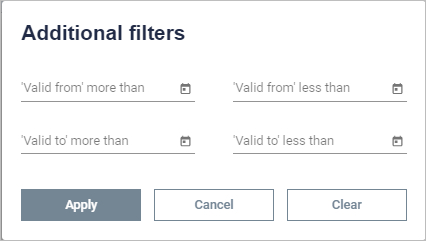
Here you can search for packages whose expiry dates (valid from or valid to) are less than or more than the selected date.
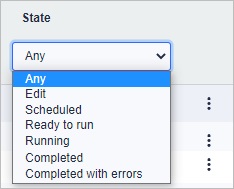
Packages can have the state:
- Any - The position visible in the State header means that packages with any state will be shown.
- Edit - During creation.
- Scheduled - Waiting for its validity time to start.
- Redy to run - Tasks are waiting for idle robot.
- Running - Tasks of this package are being processed by robots.
- Completed - All tasks of this package ended successfully.
- Completed with errors - At least one task of this package failed.
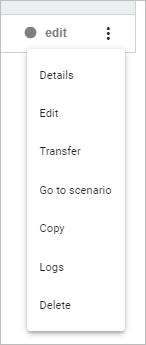
When you click on the three dots (to the right of each table row), the following options will open:
- Details - You can see the package details.
- Edit - Goes to editing an existing package.
- Transfer - The package will be transferred for execution
- Go to Scenario - Goes to the details of the scenario on the basis of which the package was created
- Copy - Copies an existing Package and goes to its editing page
- Logs - Goes to the Logs for the selected Package
- Delete - You can delete a specific Package
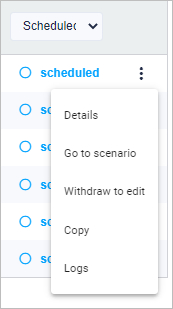
When you click on the three dots (to the right of each table row), the following options will open:
- Details - You can see the package details.
- Go to Scenario - Goes to the details of the scenario on the basis of which the package was created
- Withdraw to edit - Withdraws from scheduled execution for editing
- Copy - Copies an existing Package and goes to its editing page
- Logs - Goes to the Logs for the selected Package
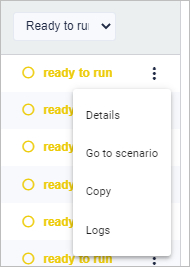
When you click on the three dots (to the right of each table row), the following options will open:
- Details - You can see the package details.
- Go to Scenario - Goes to the details of the scenario on the basis of which the package was created
- Copy - Copies an existing Package and goes to its editing page
- Logs - Goes to the Logs for the selected Package
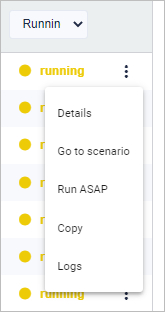
When you click on the three dots (to the right of each table row), the following options will open:
- Details - You can see the package details.
- Go to Scenario - Goes to the details of the scenario on the basis of which the package was created
- Run ASAP - Changes the priority to maximum so that the package is processed as quickly as possible
- Copy - Copies an existing Package and goes to its editing page
- Logs - Goes to the Logs for the selected Package
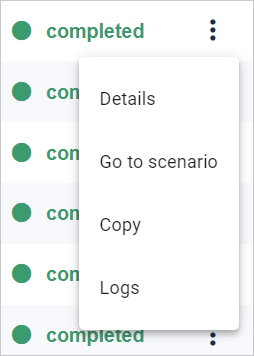
When you click on the three dots (to the right of each table row), the following options will open:
- Details - You can see the package details.
- Go to Scenario - Goes to the details of the scenario on the basis of which the package was created
- Copy - Copies an existing Package and goes to its editing page
- Logs - Goes to the Logs for the selected Package
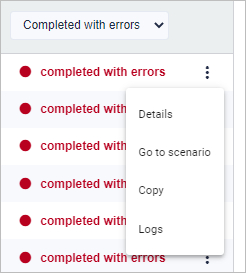
When you click on the three dots (to the right of each table row), the following options will open:
- Details - You can see the package details.
- Go to Scenario - Goes to the details of the scenario on the basis of which the package was created
- Copy - Copies an existing Package and goes to its editing page
- Logs - Goes to the Logs for the selected Package
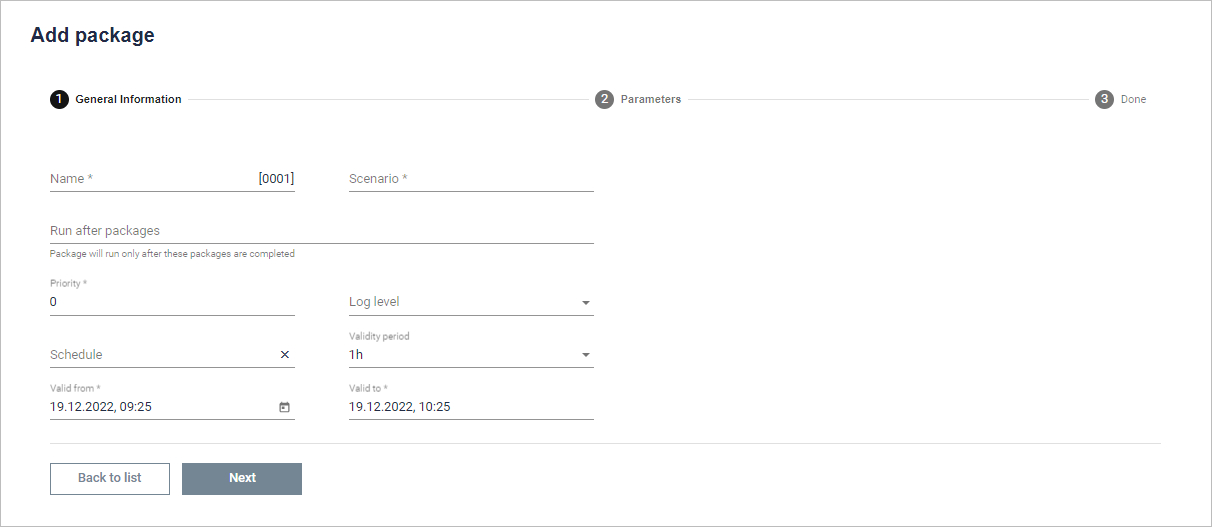
Provide the package name and choose a scenario for it(after clicking on this field, a window with a list of currently valid scenarios available in BCC with the possibility of searching will be displayed). You can set the scenario to execute after a given package(after selecting the package, the button Run only if completed successfully will appear. It means that the created package will be sent for execution only if the previous package is successfully completed). Then we can set the priority(the highest priority packets will be executed first. You can set a number from 0 to 999). We can set the detail level of the logs. We can also assign a package to a specific schedule or Validity period. Finally, you need to set the date range during which the package can be executed.

In the next step, add the required number of rows and if necessary enter the value of the parameters. The number of parameters depends on how the scenario is defined. The number of rows is equal to the number of tasks to be performed by the robot, therefore the package must contain at least one row. This can be done by using the Add row button. You can also add a file with the extension *.csv, *.xlsx or *.xls by clicking the Load from file button.
Pressing the Back button will take us to the previous page. After pressing the Validate button, it will be checked whether the parameters have been filled with the values of the appropriate type. Using the Transfer button will create tasks from the package. Clicking the Save button will save the package with the possibility of later editing.
Last updated: April 17, 2023